My mother makes the most delicious stuffing, which I try to replicate every year. In fact, we have turkey and stuffing for both Thanksgiving and Christmas because that means stuffing twice.
While we enjoy having holiday company, we are always quietly concerned they will enjoy it too much, and hopes for leftovers will be dashed. My husband and I have known to give each other uncomfortable, concerned side looks at the holiday table when our guests ask for seconds.
Faced with this yearly dilemma, I’ve devised a way to extend the stuffing if needed while improving the base ingredient — the bread.
The original recipe used simply white bread, but my mom decided to eventually add store-bought stuffing cubes to the mix for increased flavor. She didn’t want all store-bought stuffing cubes because the flavor was too strong and salty. Combined with plain white bread, it was a perfect balance.
I bake all my own bread, so I experimented with making homemade stuffing bread, which could be tailored to suit my own taste. Not only is the bread from scratch, but I also made the garlic, onion, celery powders; the sage is from my garden; and the poultry seasoning is a home blend.
 Even though homemade stuffing bread is inherently superior in quality, I wasn’t certain it was going to translate into the tried and true flavors of my mom’s version. I was nervous about the experiment. I knew I was gambling, possibly compromising taste and messing with tradition. One year, for some reason, my stuffing fell short of our expectations, and I didn’t want to repeat that disappointing day. But with a quality base of ingredients and by following the remainder of the instructions to create the stuffing mix, I felt it was a calculated risk worth taking.
Following my mother’s remaining instructions and using my bread, the stuffing was more flavorful than ever. And while nothing beats stuffing cooked inside the turkey, the homemade stuffing cubes can also be used to make a DIY Stove Top with a few additions. If leftover stuffing is sparse, I have the option of making the stove-top version and mixing it with what’s left.
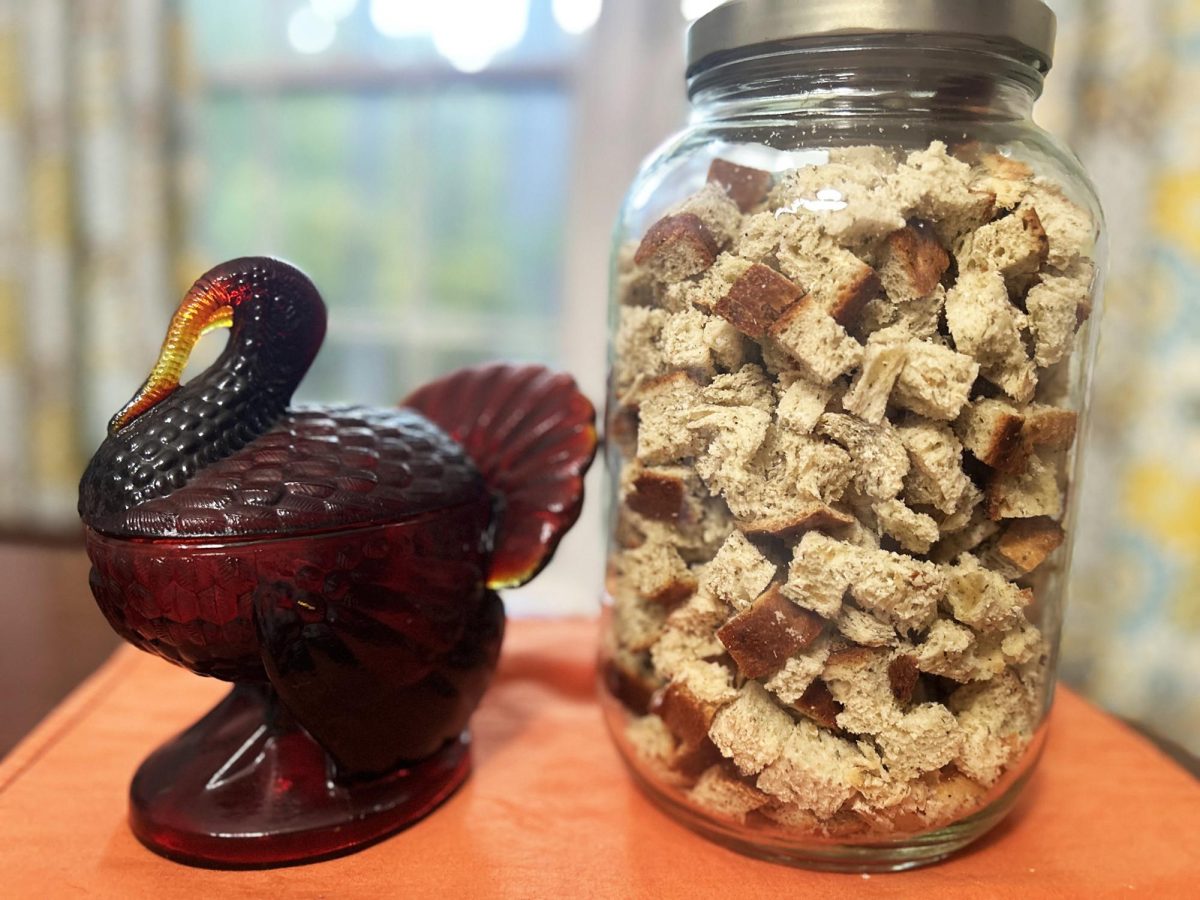
Stuffing bread isn’t just more economical, healthier and delicious, but it can be made months ahead of time because the cubes should be dry. I dehydrate mine, but you can also lay the stuffing cubes on a tray to dry, and then store in a lidded container. You can also put together stove-top stuffing kits in individual jars for a quick weeknight side.
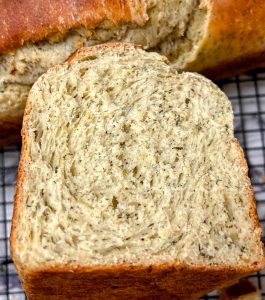
When I pulled my stuffing bread out of the oven, it smelled like Thanksgiving. The interior has flecks of onion, celery leaves, sage and other seasonings. You could even make extra and freeze a loaf for turkey sandwiches with cranberry mustard. Consider using this method to also make crouton bread for salads.
With a way to amend the leftovers if needed, this year, we can confidently have company for holiday dinners without our secret greed for stuffing. Even though this is my recipe for stuffing bread, the actual stuffing recipe will always be my mom’s, and like any mom, she’ll be glad I’m doing a better job sharing.
Stuffing Bread
If you want to use fresh milk instead of powdered, scald milk, stir in sugar, salt and lard and then cool until lukewarm. You have to use either dried or scalded milk in bread recipes to keep yeast effectiveness from slowing.
If you have a favorite white or white wheat recipe, just add stuffing seasonings.
1 cup of milk made with milk powder
2 1/4 tsp salt
2 TBSP white sugar
2 TBSP lard or shortening
1 1/2 TBSP active yeast, or 2 packs
1/2 cup warm water
2 eggs room temperature
5-6 cups all purpose flour
2 TBSP poultry seasoning
2 tsp powdered chicken bouillon
2 tsp onion powder
2 TBSP dried minced onion
1 1/2 tsp garlic powder
1 1/2 tsp celery salt (if you have freeze dried or dehydrated celery, make a powder with that but leave some flecks of the leaves for this bread)
1 tsp salt
1 1/4 tsp black pepper
2 TBSP dried parsley
2 tsp dried sage
Preheat oven to 400 degrees.
Sprinkle yeast over warm water, stir. In another bowl or mixer, combine lukewarm milk, sugar, salt and lard or shortening. Add yeast water, eggs, and 3 cups of flour and all the seasonings. Beat mixture for 2 minutes, then start adding two cups of flour, adding the remaining sixth cup as needed. Beat until dough leaves sides of the bowl. Rest the dough 10 minutes. Knead the dough for 8 minutes, or until ready. You can test to see if your bread is ready by pulling a small piece off and stretching the dough with your fingers. If you can see light through the dough, it’s ready.
Shape dough into a ball and place in greased bowl, then flip dough so greased side is facing up. Cover and rise for 1 to 1 ½ hours or until double.
Punch dough down softly, cover and rise until doubled again, about 40 minutes. Shape into loaves for either two smaller pans, or a long 13 x 4 pan. Cover and let rise until dough reaches top of pan and bake 35 or until brown. When done, cool on wire racks.
Mom’s Stuffing
1 loaf of stuffing bread
1 1/2 cups minced celery
1 1/2 cups minced onion
1 TBSP + 1 tsp celery seed
2 tsp sage
4 eggs, beaten
3/4 stick of butter, salt and pepper to taste
1 1/2 cups chicken broth, not to be used all at once
If stuffing bread isn’t dehydrated, cut into small cubes and dry out until stale, which can be done in a dehydrator or laid out on trays for two days. Melt butter in skillet and saute onions and celery until soft. Let mixture cool slightly. Put stale bread in a large bowl and add vegetables, celery seed, sage, salt and pepper to taste and eggs. Mix and gradually start adding chicken broth until moist, not mushy. Proceed to stuff turkey or chicken with stuffing.
Homemade Stove Top Stuffing
3 cups of dried stuffing bread cubes
1/2 TBSP dried parsley
3/4 TBSP powdered chicken bouillon
2 TBSP + 2 tsp dried minced onion
2 TBSP + 2 tsp dried celery flakes or pieces
If you have it, 1/4 cup freeze-dried celery slices
1/2 tsp dried sage
1/2 tsp dried oregano
1/2 tsp thyme
1/2 tsp black pepper
1/4 tsp salt
In a medium saucepan, bring 3/4 cup of water and 2 tablespoons of butter to a boil. Add seasonings and stuffing cubes, stir and cover. Let sit 5 minutes, then fluff with fork.
For more recipes, tips and details, visit Laura Macklem’s Preserved Home blog at www.preservedhome.com.
Columns represent the views of the individual writer and do not necessarily reflect those of the North Coast Current’s ownership or management.


